Showing posts with label recipes. Show all posts

Friday, September 24, 2010

There's a Recipe In Here Somewhere

I should totally be packing right now, taking advantage of a sleeping child so I can throw some stuff in a suitcase before we head out for a weekend excursion.  Of course, I hate packing and will do pretty much anything to avoid it, so instead I'm blogging.  Hoping that all of our stuff will Mary Poppins itself right into the appropriate bag at the appropriate time...  a girl can dream can't she?

We have really been having a good time here.  It's funny how being in Guam for only a year  (it seems like such a short time right now, but when I'm "in it" seems like forever), has already changed me.  I unknowingly have really adapted to the slow, less is mostly enough except when I want something and can't find it immediately lifestyle we are experiencing over there.  I am constantly amazed at how much stuff there is here.  And I wonder, after living in Guam, is it really ALL necessary?  Don't get me wrong, I won't ever NOT love Target, but it's interesting how much you take for granted when you are surrounded by everything you could possibly need and want 24/7 and not have to go too much out of your way to get it.  I'm sure when I get back to Guam, I'll be longing for these days, pinching myself for not buying something so trivial I couldn't imagine flying it back, only to "desperately" need it and not able to find it on the island.

In our almost two weeks of being here, Price has learned to say, "Target. Yay!," "cowboy boots," "doggie door," and a whole bunch of other terms.  He is having the best time being spoiled by grandparents, escaping from the house through the doggie door, going to the Children's Museum, playing on the farm, eating more hot dogs than a person could ever want, just being an active two year old.

Mom wanted to show him off to all of her neighbors who have to hear about us all of the time, so she came to me last Friday and said, "Terrell, I would like to throw an impromptu brunch TOMORROW for a few friends."  I kindly replied, "Ok Mom, whatever you'd like to do is fine.  Let me know what you need me to do."

It was then that I realized a few friends was about 50 people she's ever spoken to about Price of her closest neighbors, and by "throw a brunch" she meant, "I'm going to do all the inviting and you're going to do all the cooking."  Ahhh, mothers, you gotta love them.  Anyway, I really didn't mind cooking, especially since I made my favorite breakfast casserole and I've been wanting to share the recipe with you.

I have been making this super simple, make ahead casserole for about 10 years.  It is one of my favorites, every time I make it, people ask for the recipe.  It's perfect for Christmas morning, or any other occasion when you want something hearty and filling that doesn't require any effort on the day of serving.  Ladies and gentlemen, I give you, The Southern Living Breakfast Casserole.

For this recipe you will need:

1 lb ground pork sausage, browned and drained (I always use a combo of half regular, half spicy sausage.)


2 cups shredded sharp cheddar cheese
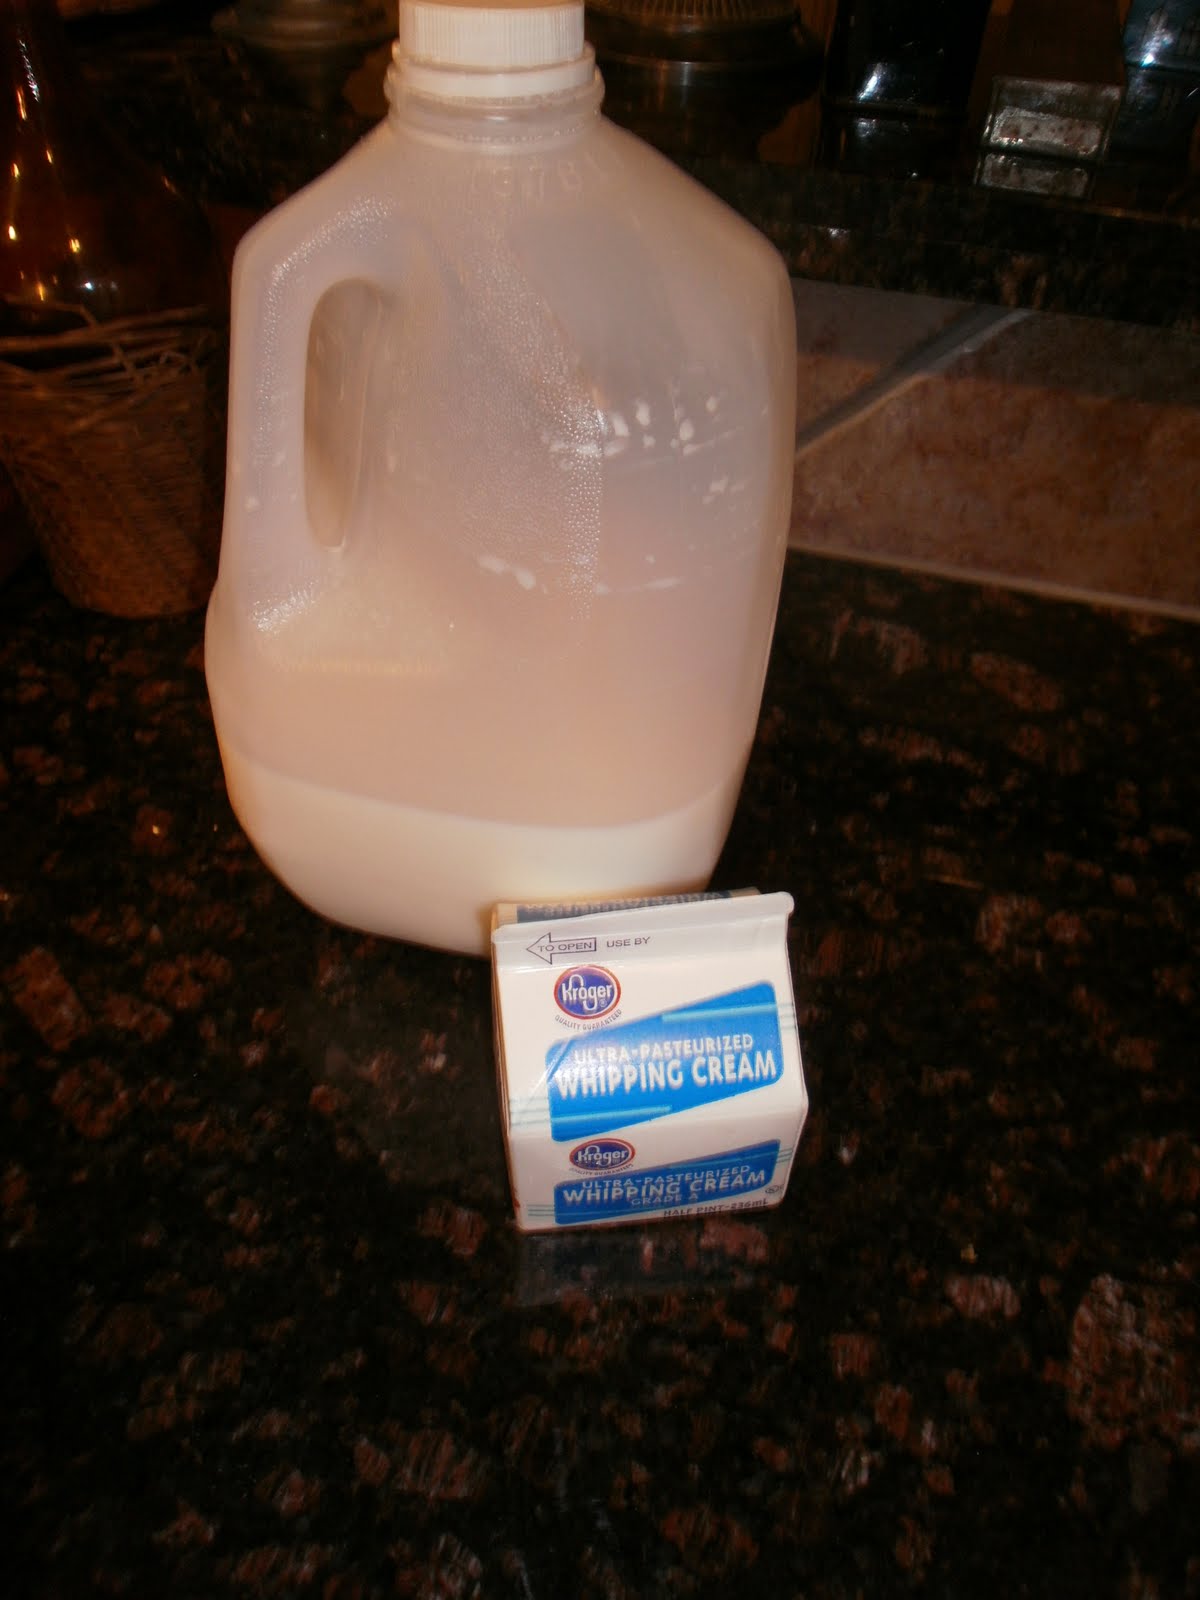


2 cups milk (or if you're feeling a little frisky or like you need to up your fat intake, take a walk on the wild side and do a cup of milk and a cup of cream)


6 eggs, lightly beaten


10 slices of the least expensive white bread you can buy


Plus salt, pepper, 1/4 tsp Worcestershire sauce, 1 tsp. dry ground mustard.

Brown and drain sausage.  While cooking sausage, lightly grease a 9x13 pan.  Cube (by cube, I mean tear into quarters, it doesn't need to be pretty) 10 pieces of bread and line bottom of pan.

Layer with cheese, then cooked sausage.  Be sure to cover bread evenly.


In a separate bowl, lightly beat eggs, add milk,  mustard, Worcestershire sauce, salt and pepper, stir until combined.  Pour over sausage.  Be sure to coat evenly. Cover and store in refrigerator overnight.

Take out of refrigerator 30 minutes prior to baking.  Bake at 350 for 45 minutes until eggs are set.


The bread soaks up all the milk and eggs to form a custard, it's like a savory bread pudding.  You can thank me now, your taste buds will thank you later!


Wednesday, August 11, 2010

Second Time Around

I'm a BIG fan of leftovers.  I love that I don't waste uneaten food, but what I love even more is that cooking leftovers usually means there's less mess in my kitchen.  Less mess means less cleaning, which means more time to spend with any show on Bravo Don and Price.

I also love when I get to re-purpose leftovers (do you like how I'm using trendy HGTV terms on a more Food Network type post?) and turn them into an entirely different meal than what they originally started out as.  This is actually pretty easy to do when you make something like pulled pork or a brisket (not as easy when you are working with leftover lasagna).  And in my house, being able to disguise leftovers is a GREAT thing because I may be married to someone who likes and appreciates my cooking, but who can only handle the same meal for so long (maybe twice if I'm lucky and he LOVED it the first time).

I was very happy last week when the planets aligned and I was able to turn a crock pot meal (hardly any clean up on the original meal) into a Mexican delight (with very little prep/clean up) the second night! As Price would say, "Awesome Pants!"

I think I'll call this dinner,  Play It Again Pile Up


Up til now, every paragraph I have written begins with I.  I am feeling very self-centered I suppose, maybe all the fame has gone to my head.  Sorry, I will get back on track now....

On Wednesday, we had Bacon Chesseburger Chicken for dinner.  It was pretty good (as soon as I put everything in the crockpot, I was like, "you TOTALLY should have made it this way", but it was too late, so I'm planning on making it MY way very soon.  If it turns out like I think it may, I'll share the recipe).  There was a lot left over, even after Price and I had it for lunch on Thursday.  Friday night, I didn't feel like cooking, but we didn't really want to go out, so I busted out the leftover chicken and stared at it for a while. And then I opened the fridge and stared at its contents for a while.  And then I went to the pantry and stared at it for a while.  And then as if someone waved a magic wand, items began floating into focus...

Leftover shredded chicken
Whole wheat tortillas
Spinach
Cheese
Avocado
Black beans
Rice
Salsa
Sour Cream

Almost all of my favorite foods stacked on one plate.  So easy!  Here's all you have to do

Start a pot of rice (or use leftover rice, or omit it altogether).  Place leftover meat (this recipe works great with ANY meat- chicken, pork, beef or leave meatless if you prefer) in a skillet or small sauce pan to reheat.  Heat 1 tortilla per person in the oven until warmed (or if you're like me forget they're in the oven and don't remove until puffed up like a balloon...).  Heat one can of black beans.

Once everything is heated and rice is cooked, start piling everything on a tortilla...
 I placed spinach on the bottom to sneak in a vegetable that Don doesn't care for.

Next, rice and beans.

Then chicken and cheese.

Finally top off with any condiments, you could even use plain yogurt instead of sour cream to cut out some fat.

If you ignore how the chicken was made, you could lead yourself to believe this is a low cal, low fat meal.  This meal that came together at the last minute was the perfect Friday night dinner- quick, easy, not much to clean up- and nothing was leftover!

Wednesday, August 4, 2010

The Facts of Rice

Mom- this post is for you!!

Growing up in Louisiana, we had rice at almost every meal, be it our family standard of red beans & rice or a special treat of crawfish etouffee.  And now that we live in Guam, there is rice at EVERY meal (even breakfast- and if you haven't had an egg over rice, you really, really must try it).

Although rice is a common and basic grain, many people are intimidated by cooking it.  They don't  know how to cook it without contraptions like steamers or rice makers.  The thing is, you can make it quickly and easily (and nope, I'm not talking about insta-rice from a box) on your very own stove top as long as you have a saucepan with lid.

22 Minute Rice (makes about six 1/2 cup servings, if you need more just remember that for every amount of uncooked rice you use, you need to add twice as much liquid)


2 C hot water (you can also use stock or broth or a combination)
1/8 tsp salt (add more salt if using unsalted butter)
1 C Long Grain Rice (not parboiled)
2 tbsp butter

Step 1:  Set kitchen timer to 22 minutes.

Step 2: Pour hot water into sauce pan, make sure burner is set to highest heat setting.  Add salt.

Step 3:  Add rice


Step 4:  Add butter.

Step 5:  Bring to a boil.  The water should be boiling when the timer has 16 minutes left.


Step 6:  Once water is boiling, give a quick stir, making sure there is no rice sticking to the bottom of the pan.  Turn heat to lowest setting and cover pan.

Step 7:  When timer goes off, voila!  Perfect rice (it may be a little moist on the bottom, just fluff with a fork).  If you don't like sticky rice, cover and let sit on stove until ready to serve.


Tonight, to spice it up, I put a small dab of butter, a little bit of garlic powder, freshly ground black pepper and Parmesan cheese.  Sometimes I add peas and cheese, a lot of times I just serve it straight out of the pot.  And tonight, I set some aside to serve with milk and sugar tomorrow morning.

While we're on the subject of rice and so many of us are fortunate to have all the rice we want, many people around the world do not.  There's a website, www.freerice.com where you can play an entertaining vocabulary game and for every answer you get correct, rice is donated to a country in need.  Snopes has verified that this site is true to its word.  I am NOT being compensated in any way for mentioning this site, I just found it when I googled something about rice.

Oh and Mom, since you inspired this post, by teaching me how to cook rice this way and then telling me you forgot how to do it since you only use Minute Rice these days, I thought you'd like to see the little monkey who was helping me cook the rice...  And by helping, I mean climbing up my legs and onto the counter and savaging cookie crumbs from every surface he could find!

Monday, August 2, 2010

Comfort Food

I am a bit of an emotional eater.   I think celebrations are made better (and sometimes even more memorable) by good food.  I think pity parties can be turned around by no less than a pint of decadent ice cream or a pan of homemade brownies.  Basically, I eat when I'm happy, I eat when I'm sad, I eat when I'm lonely or bored (are you sensing a pattern here?).  The only time I don't eat is when I am nervous about something (like right before I fly, or about to go into a social situation where I don't know many people).  So it should come as no surprise that I really dig comfort food.

This weekend, I was struck with a major desire for one of my favorite comfort meals, grilled cheese and tomato soup.  I'm not sure if it was the grey weather we were having or my premonition that Price's teething illness would be striking shortly (and yes, I am quite the toothsayer- hahaha- we are currently in the midst of upper molaritis) or just the fact that my body was longing for soup since it's summer ALL.THE.TIME and I just needed to feel a season change, even if it was only temporary.

Of course, once my taste buds were sending signals to my brain that I had to have grilled cheese and tomato soup and I looked outside and saw mybasil plant begging me to pull some leaves, I also knew I wasn't gonna be ok with a can of Campbell's or a slice of American cheese slapped between a couple slices of bread.  Nope, I knew it was time to pull out two of my quickest, easiest and most impressive and wholly crave satisfying recipes in my arsenal.  I'll share them with you, but while your lips will thank you, your hips may not!  This is not a low-cal, low-fat meal (although it could be slightly better with one some modifications that I'll share with you)-  don't say I didn't warn you!!

Chunky Tomato Basil Soup (think La Madeleine)  & The MOST AMAZING GRILLED CHEESE.EVER


 For the Tomato Basil Soup you will need: salt, black pepper, red pepper, cream (or for a lighter version half and half or for a seriously lighter version, low-fat milk- but really how comforting is low-fat milk?), and


1/2 stick of butter


1 small onion chopped


3 cloves of garlic, chopped


1 large can of tomatoes (diced are ok, these are what I had on hand)


about 1/3 cup of fresh basil, chopped (for all of you herb enthusiasts out there, this is Thai basil because that is what I have growing in abundance right now. I prefer a sweet basil for this recipe, but the Thai basil wasn't bad)


To make the soup, sauté butter, onion and garlic until onions are soft and translucent.

Add the tomatoes, basil, salt and pepper to taste (more pepper than salt and less than a tsp of each to start with, you can add more at the end if needed) and about 3 shakes of crushed red pepper flakes.


Cook on medium-low heat until gently boiling. (This is a great time to start the grilled cheese sandwiches).   Stir often (if using whole tomatoes, when stirring, smoosh the tomatoes a little to get the juices out).  Once the soup is boiling, transfer to a blender or food processor (my blender broke before we left Ohio, on account of crushing ice one too many times for margaritas  smoothies so I had to use my food processor, the blender worked better!!)


Puree soup so that all tomatoes are broken down.  Then add about 1/3 cup of cream (if you're not into dairy, you probably quit reading a long time ago since this recipe called for cream, but you could use a veggie stock, but the cream- ohhh the cream- it's what makes this so much better than canned soup)  And puree to your desired consistency.  (I leave mine a little chunky, slightly less chunky than salsa)

Return to pot and simmer on low heat until you are finished making your AMAZING Grilled Cheese Sandwiches (adapted from Taste of Home's Ultimate Grilled Cheese)- Thank you Kalina for describing these sandwiches so well several years ago that I was able to find the recipe on-line and have been making them ever since!  These sandwiches are actually a great make ahead food.  You can make the cheese spread and refrigerate until you are ready to grill the sandwiches.

For the sandwiches you will need:
About 10 pieces of bread (a thick bread like Italian or French is better than regular sandwich bread, trust me, I know from recent experience), 1/4 tsp season salt (I used Mrs. Dash Garlic and Herb spice blend), 1/2 tbsp Worcestershire sauce, and because I wanted a teeny, tiny little zip- 1/8 Tony's Creole Seasoning.  You'll also need


the other half of the butter left over from the soup, softened


one block of cream cheese and one green onion


1/3 cup of mayo (if you don't like mayo- Shauna- use 1/4 cup.  You probably won't taste it even using  1/3 of a cup, but you need it to bind everything together.  Don't let the mayo stop you from making this sandwich!!)


2 cups of grated cheese- it doesn't matter what kind or how many types you use.  I did a sharp cheddar and monterey jack.  It's also great with a pepper jack or swiss, what ever you like!


Combine all of the above ingredients (except bread and butter) in large bowl. (If you are not going to make sandwiches immediately, cover and refrigerate until ready to use.  Definitely keeps well over night).

Once everything is combined, spread on 5 pieces of bread and top with remaining pieces of bread (there will be some cheese spread left over, stick it in the fridge and use it as a cheese dip with crackers the next day).  Butter the outside of the bread and cook on griddle or in frying pan or however you usually cook grilled cheese...

I did not have good bread!!!  I made them again the next day using my leftover spread and put them on hamburger buns, open-faced under the broiler and the bread really does make a difference.  They are too rich without a thick bread or soup to dip them in.

Ooey, gooey!  Yum, yum.  

Nothing like dunking grilled cheese in tomato soup.  I felt like I had just put on my favorite sweater (which I haven't worn in almost a year since living in the tropics really doesn't allow for much sweater wearing).  It soothed my soul until I thought about the fat content, which is probably why I volunteered to mow our lawn today.

What's your favorite comfort food?

Saturday, July 10, 2010

Cuckoo for Coconuts

We've had a great  10 days with Don's parents.  The time has flown by!  We've done lots of sightseeing and just enjoyed spending time with family.  I'll share some of our adventures with you soon, but just in time for the weekend, I wanted to share a really great breakfast recipe.  Of course, unless you live here in Guam, you may not be able to find FRESH coconut to use, but try it anyway, your taste buds will thank you.


There are literally coconut trees everywhere you look here.  These trees actually produce coconuts, that fall to the ground when they are ready to be eaten ripe.  Although we have been surrounded by said coconuts for almost a year, we haven't taken the time (and trust me, if done the wrong way, it will take quite a bit of time) to crack one of these babies open.  It took out of town guests to get us acting like locals and eat some fresh coconut.

Our coconut fest started thanks to Martha Stewart.  My mother-in-law recently saw a segment on Martha's show about homemade coconut pudding.  The recipe (and Martha herself) very specifically called for fresh coconut.  I finally got brave and went to our local produce stand (AMAZING!!!!) and bought a coconut and had them grate it for me.  It was two bucks and produced about 3 cups of freshly grated coconut.

We made the pudding,

It was pretty good.  I am going to make it again with some modifications and report back to you.  But we had quite a bit of leftover coconut.  And we also got adventurous and decided to try to harvest our own coconuts.  Don spotted some on his daily run, so we picked them up and brought them home.

The thing you may not know is, the actual nut, the part that you eat, is buried deep within the husk.  The husk has a very thick shell.  A shell that can be opened simply if you know the right technique.  If you do not know the correct technique and attempt to open the coconut with a hammer, it will take two grown men almost an hour.  (we should  have Googled "how to crack a coconut" BEFORE cracking our coconut open).
We (by we, I mean Don and his dad while I took pictures) finally got the thing open and it was a beauty.  We even took sips of the coconut juice (another coconut fact- did you know coconut juice is the liquid that that comes out of the coconut when you crack it open, but coconut milk is produced by squeezing the "meat" of the coconut?  I did not, I thought the terms were interchangeable, I was corrected).

My house was officially overflowing with coconut.  So, for our last breakfast together, I decided to create some Tropical French Toast (I need a catchier name, but that was all I could come up with at such an early hour of the morning).  It turned out great and was super fast and easy.  Perfect for a Saturday morning treat. And my mother in law, lover of French Toast, declared it as the best French Toast she's ever eaten...  Not that I'm bragging.

Tropical French Toast  (adapted from Better Homes and Gardens Cookbook, Sticky Buns French Toast)
1/3 C Tropicana Orange-Peach-Mango Juice (or any orange juice you have on hand)
1/3 C Orange Curacao (or Triple Sec, or any orange liqueur or if you don't like alcohol, just use plain OJ)
4 large eggs
4 tbsp salted butter
3 tbsp honey
1/3 C FRESH coconut (it really doesn't need to be fresh, but unsweetened if possible)
1/4 tsp ground ginger
1/8 tsp ground nutmeg
1/4 tsp ground cinnamon
6 thick slices of a sweet bread (I used King's Hawaiian, but Challah bread would work well.  I used to think I didn't like French Toast, then I had it on good bread and realized that it's the only way to have French Toast on a good, thick bread.  To get the full effect of this dish, please don't make with Wonder bread)
Powdered sugar (optional)


Set oven to 400.  In 9x13 pan, add butter and honey.
Place pan in oven while heating and let butter and honey melt, but don't let butter turn brown.

While butter is melting, combine eggs, liquids and spices.  Whisk until thoroughly combined.

Once butter is melted, remove from oven and stir to combine and cover entire pan.  Sprinkle coconut over butter/honey mixture.

Set aside and dip bread into egg mixture.  Coat well, but don't let bread get too soggy.


Place bread on top of coconut in baking dish.


Bake at 400 degrees for 15 - 20 minutes, until edges slightly brown.  I baked for 18 minutes and it was perfection.


Remove from oven, sprinkle with powdered sugar.  Take a bite.  Feel the crackle of the caramelized coconut on the bottom.  Enjoy citrus and salty as they waltz across your palate.  So sweet, you don't even need syrup.

Enjoy! And have a great weekend.

Tuesday, June 29, 2010

Summer Frittata

My in-laws will be here tomorrow.  I. CANNOT.WAIT!!!  We haven't seen them in a year, we haven't seen any relatives in 6 months.  It's one of the drawbacks of living here.  I love my in-laws and am blessed to get along well with them.  Of course, being the typical daughter-in-law, I feel an enormous amount of pressure to have a clean, clean, spotless house when they arrive.  I have actually accepted that with Price in our midst, spotless probably isn't going to happen, but vacuumed, mopped, dusted, somewhat more organized than usual will.  Unless I continue to procrastinate and take random breaks from the aforementioned chores that I have embarked on.  That's why I am writing this post now, as opposed to later.  I am taking a break, I just moved a bunch of heavy furniture and thought I'd sit for a minute and tell you about the fabulous dinner I made last night.  I am able to do this, even though my living room looks like this,

And my dining room looks like this,

No, the futon doesn't actually live in the living room (see info about moving furniture).  We are going to have to sleep on the futon while Don's parents are here thanks to only having a  2 bedroom (yet another drawback of living here), and yes that is the futon mattress on the dining room floor.  It's harder to move than a couch and a futon frame, hence the break I am taking to gather my strength back up.  Well, there's that and the fact I have to tackle my kitchen...

Anyway, on to last night's dinner (I think I'm starting to get my cooking mojo back)...  We had a bunch of people over Friday night for a porch warming party.  I over estimated everyone's fondness for tomatoes and had several left over that I needed to use.  I also have a Thai basil plant that has taken off and wanted to use it as well.  So all day, I tried to come up with something that I could use both items in, and it hit me- a frittata.  Yum!  I found a recipe to use as a guide. The recipe called for corn.  I would never have thought to put corn in a frittata, but I had three ears that cost me sixty cents each (oh how I miss Frank's Fruit Farm and even long for Kroger's fifteen cents corn).  But corn is my summer veggie.  There is no other veggie (not even a big, fat homegrown tomato) that says summer to me as much as corn- it just drips of picnics and grilling out and butter- glorious melted butter .  I splurged on 3 ears of corn when it was on sale (down from $1/ear) and was happy to get the chance to use it in the frittata.

Very liberally adapted from Better Homes and Garden's Vegetable Frittata With Cheese


For this recipe you will need:
8 eggs, olive oil, salt, and pepper, 1/2 cup of shredded cheese (I used cheddar, but any would work), oven-safe skillet (I used this one)


1 tbsp fresh, chopped basil


3 cloves, finely chopped garlic


1 onion, chopped


3 links (casing removed) or 1/2 pound ground Italian sausage or if you're not a fan of meat, leave it out.  I put it in so Don wouldn't complain about having a girlie frittata for dinner.


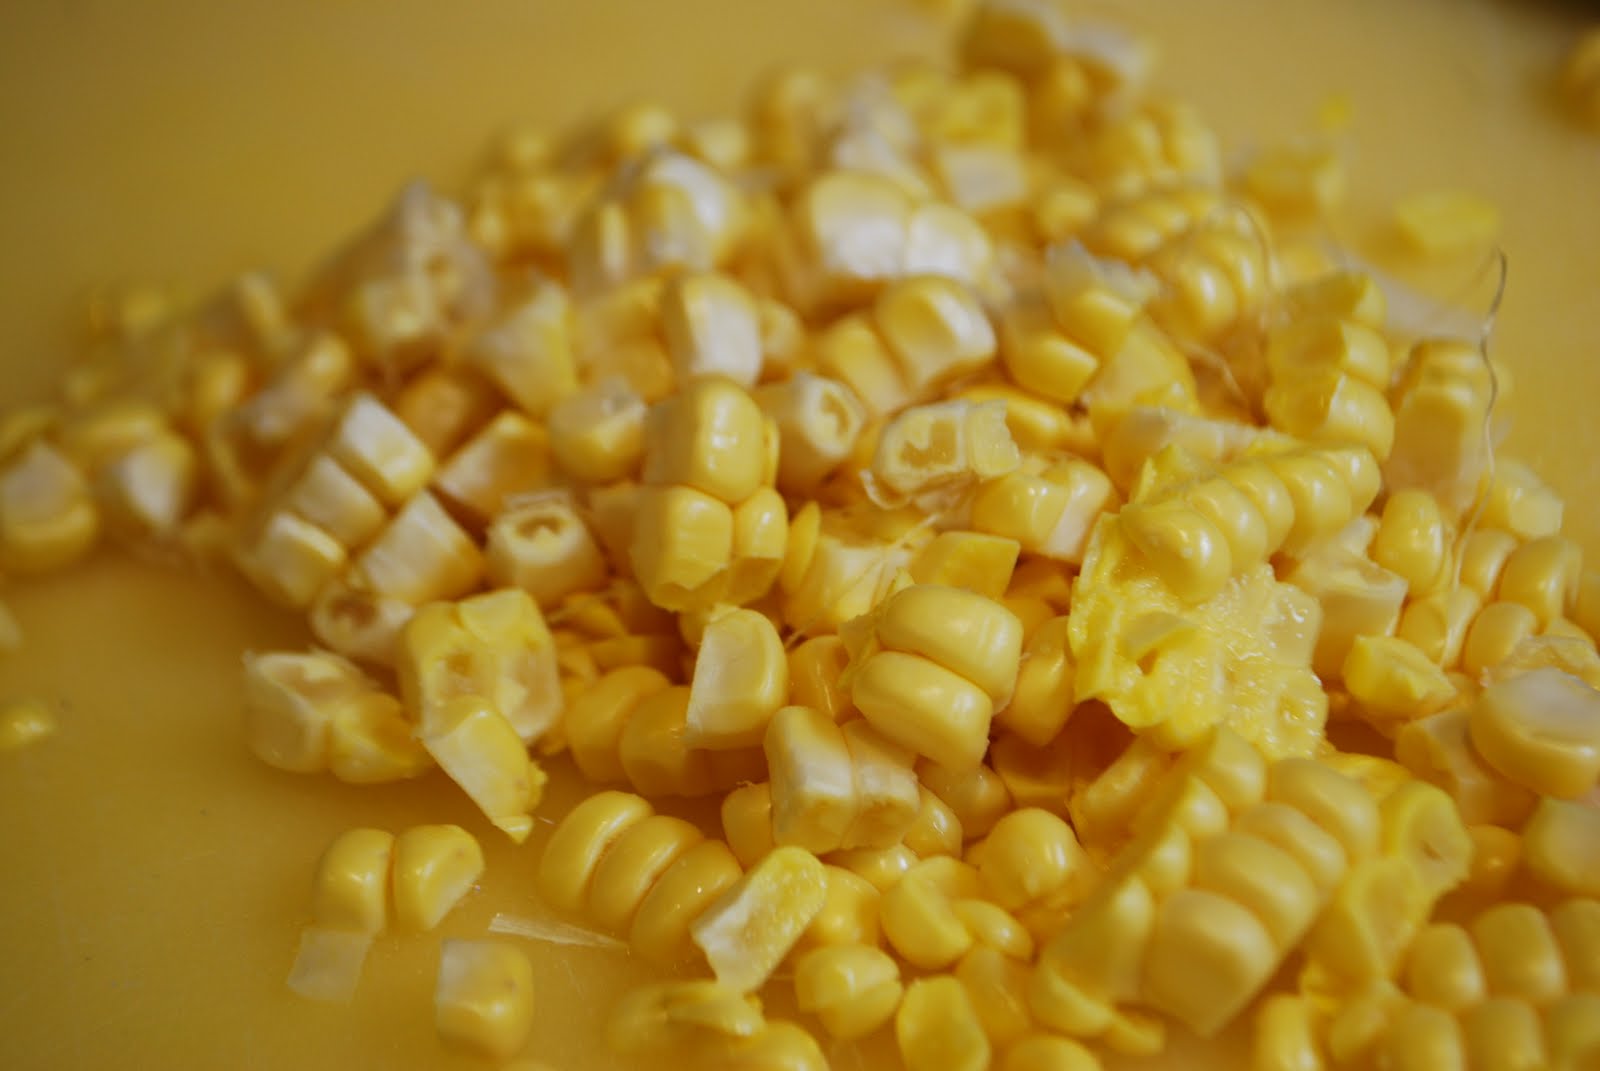
1 ear of fresh, uncooked corn off the cob or about 1/2 cup frozen corn (the corn made this dish for me, probably because it was fresh corn off the cob and considering I bought it at the Commissary where produce is spotty and usually disappointing, this corn was pretty fantabulous- it had the perfect corn crunch)


1 small  head of broccoli, chopped


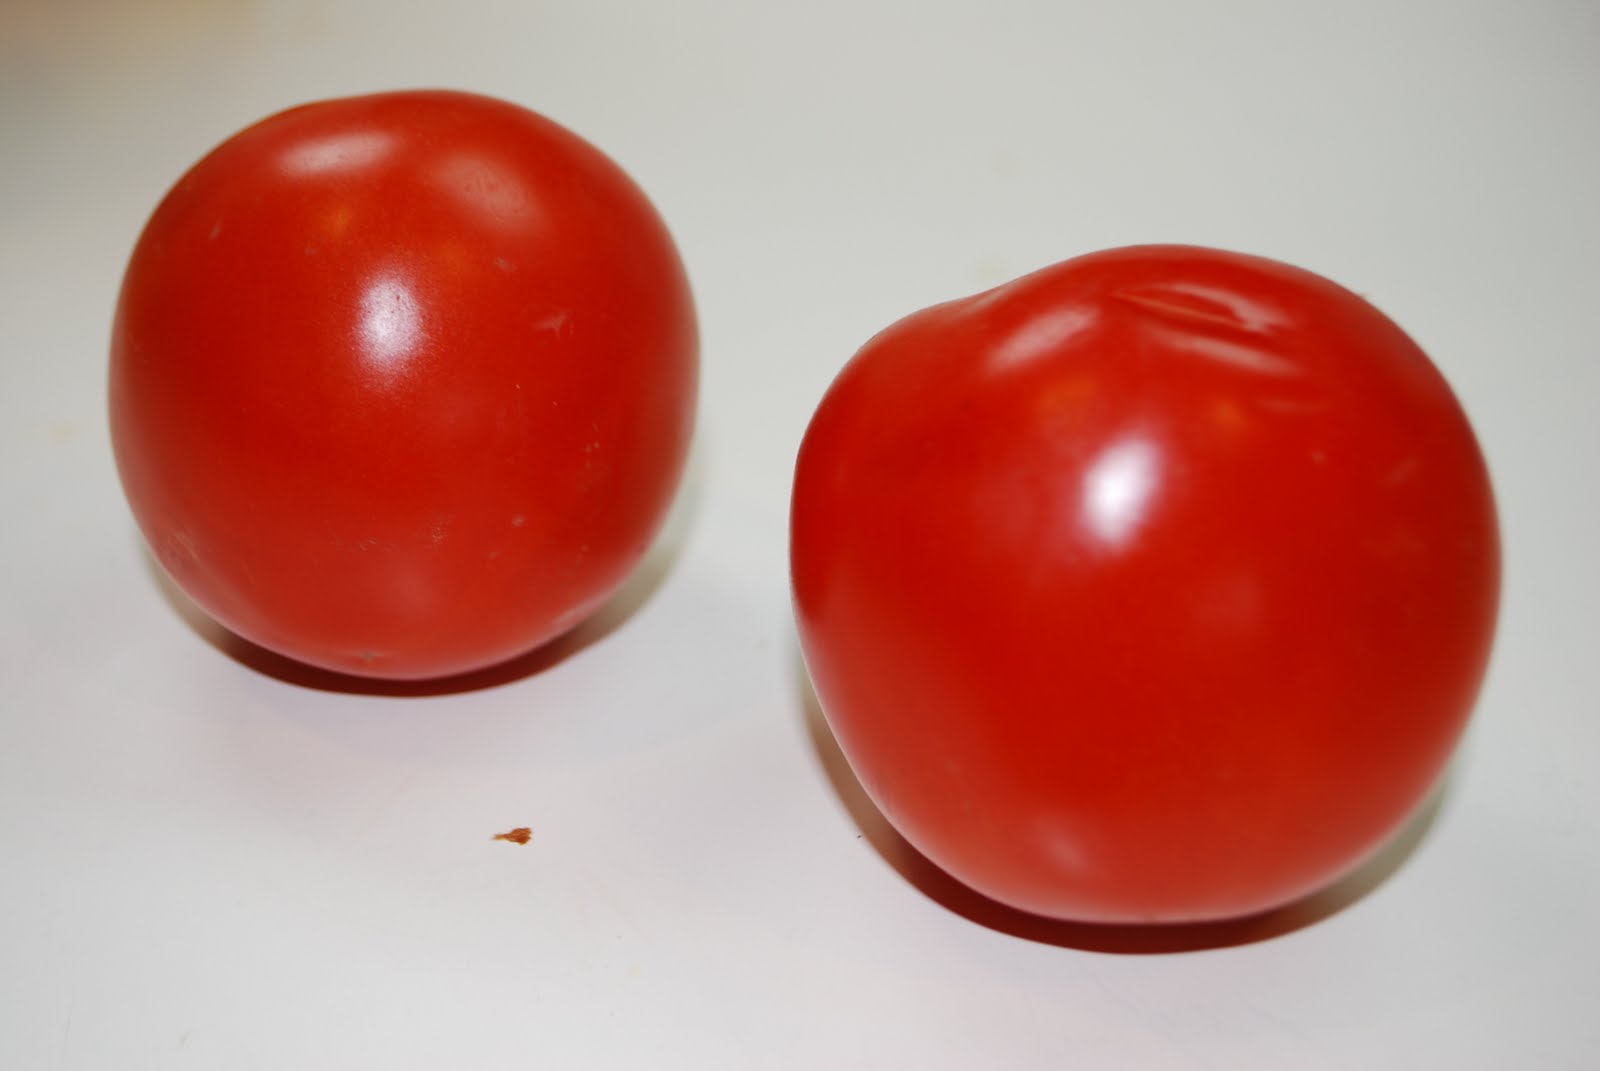
2 tomatoes , chopped (I left mine chunky and I also forgot to take pictures of the actual chopped tomatoes)

Here's how to make your Summer Frittata (btw, you can TOTALLY change out any of the veggies in this dish for your favorites, these are what I had on hand.  I'll make it again with peppers and squash)....

In a large oven-safe skillet, heat 1 tbsp of olive oil, add onions, garlic and sausage.  Cook, stirring often until sausage is brown.  Meanwhile, in a separate bowl, lightly beat 8 eggs, add basil, salt and pepper- set aside.

Once sausage is browned, add corn and broccoli, cook for about 3 minutes, add tomatoes, cook for another 3-5 minutes until vegetables are slightly browned.

Pour egg mixture over entire pan.  Making sure that entire surface is covered. You may want to reduce heat slightly and if your burner SUCKS like mine has an area that doesn't heat up, you may need to roate your pan to ensure everything gets cooked evenly.  Once the sides start setting (sticking to the side of your pan), run your spatula around the rim of the pan to allow uncooked egg to seep in and get cooked, you should do this several times.

Once the egg stays off the pan and no more seeps in, the sides are set- even if the center is still moist (I HATE THAT WORD) a little jiggly.

Sprinkle with cheese and place under broiler for 3-5 minutes until cheese is melted and the jiggliness is gone from the center (if only I could sit under a broiler for a few minutes until my jiggly center was gone...)

Remove from oven and let sit for about 5 minutes.


Yummy deliciousness!!  Both of the boys liked it, Price had fun fishing out the veggies (he prefers them over the meat).  Don appreciated the sausage since it manned up the dish.  Very successful!

Tonight, I'm attempting homemade tomato sauce with the last 4 of my too many tomatoes from Friday night.
Related Posts with Thumbnails